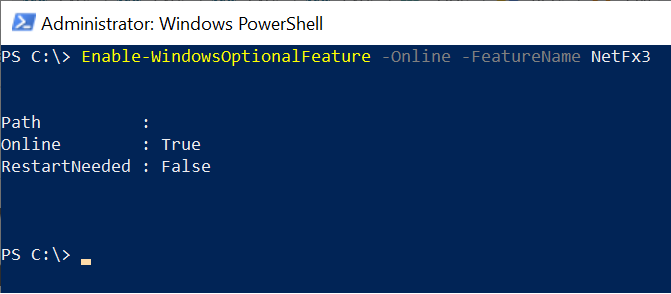
To install the .Net Framework 3.5 version on Windows 10 or Windows 11 operating system, use the Enable-WindowsOptionalFeature cmdlet in PowerShell with the -FeatureName parameter.
The Enable-WindowsOptionalFeature command enables the Windows features. It has -Online parameter to specify that the feature should be enabled online. The -FeatureName parameter specifies the name of the feature to enable. In this case, the name of the feature is “NetFx3” to install the .Net 3.5 framework.
In this article, we will discuss how to use the PowerShell command to install the .Net 3.5 framework on Windows 10 and Windows 11 systems.
How to Install .Net 3.5 using PowerShell Command
Use the following script to install the .Net 3.5 framework using the PowerShell Enable-WindowsOptionalFeature cmdlet.
Enable-WindowsOptionalFeature -Online -FeatureName NetFx3
In the above PowerShell script, the Enable-WindowsOptionalFeature command uses the -Online parameter to specify that a feature with a name NetFx3 should be enabled online.
The output of the above PowerShell script installs the .Net Framework on the system.

After the successful installation of the dot net framework 3.5, it displays the message of whether a system restart is needed.
Cool Tip: How to check the .NET Framework version using PowerShell!
Conclusion
I hope the above article on how to install .Net Framework 3.5 on the system using the PowerShell command Enable-WindowsOptionalFeature is helpful to you.
When installing the .NET Framework 3.5, follow some additional tips:
- You must be an administrator to install .NET Framework 3.5.
- .NET Framework 3.5 is not installed or enabled by default on Windows 11.
- .NET Framework 3.5 may require additional Windows updates to be installed.
You can find more topics about PowerShell Active Directory commands and PowerShell basics on the ShellGeek home page.